Creating a Project
Every world you create in Easel begins as an empty project.
Creating your project
We are going to open the Easel Game Editor in a new tab so you can easily switch between the editor and this guide as you follow along.
- Right-click the Launch Editor button in the top-right corner of this page, then choose Open Link in New Tab from the pop-up menu.
- Once the editor loads, click New Project.
Now you are ready to start creating your game.
Naming your project
It is a good idea to give your project a name. To do this, we will edit the configuration file for your project called easel.toml.
- Select the file
easel.tomlfrom the left sidebar. - Find the
namefield in the[project]section. It will initially contain a randomly generated name like"Generous Pink Biscuit". - Change the
nameto"Astroblast!". Be sure to keep the double quotes (") that surround the name.
The top section of your file should look like the following once you are done:
[project]
name = "Astroblast!"

[authors]
# ...
You will be inserting and modifying a lot of code in this tutorial.
Look for the highlighted blocks of code to see what to change.
Sometimes we will omit other parts of the file for brevity. This will be indicated by three dots: ....
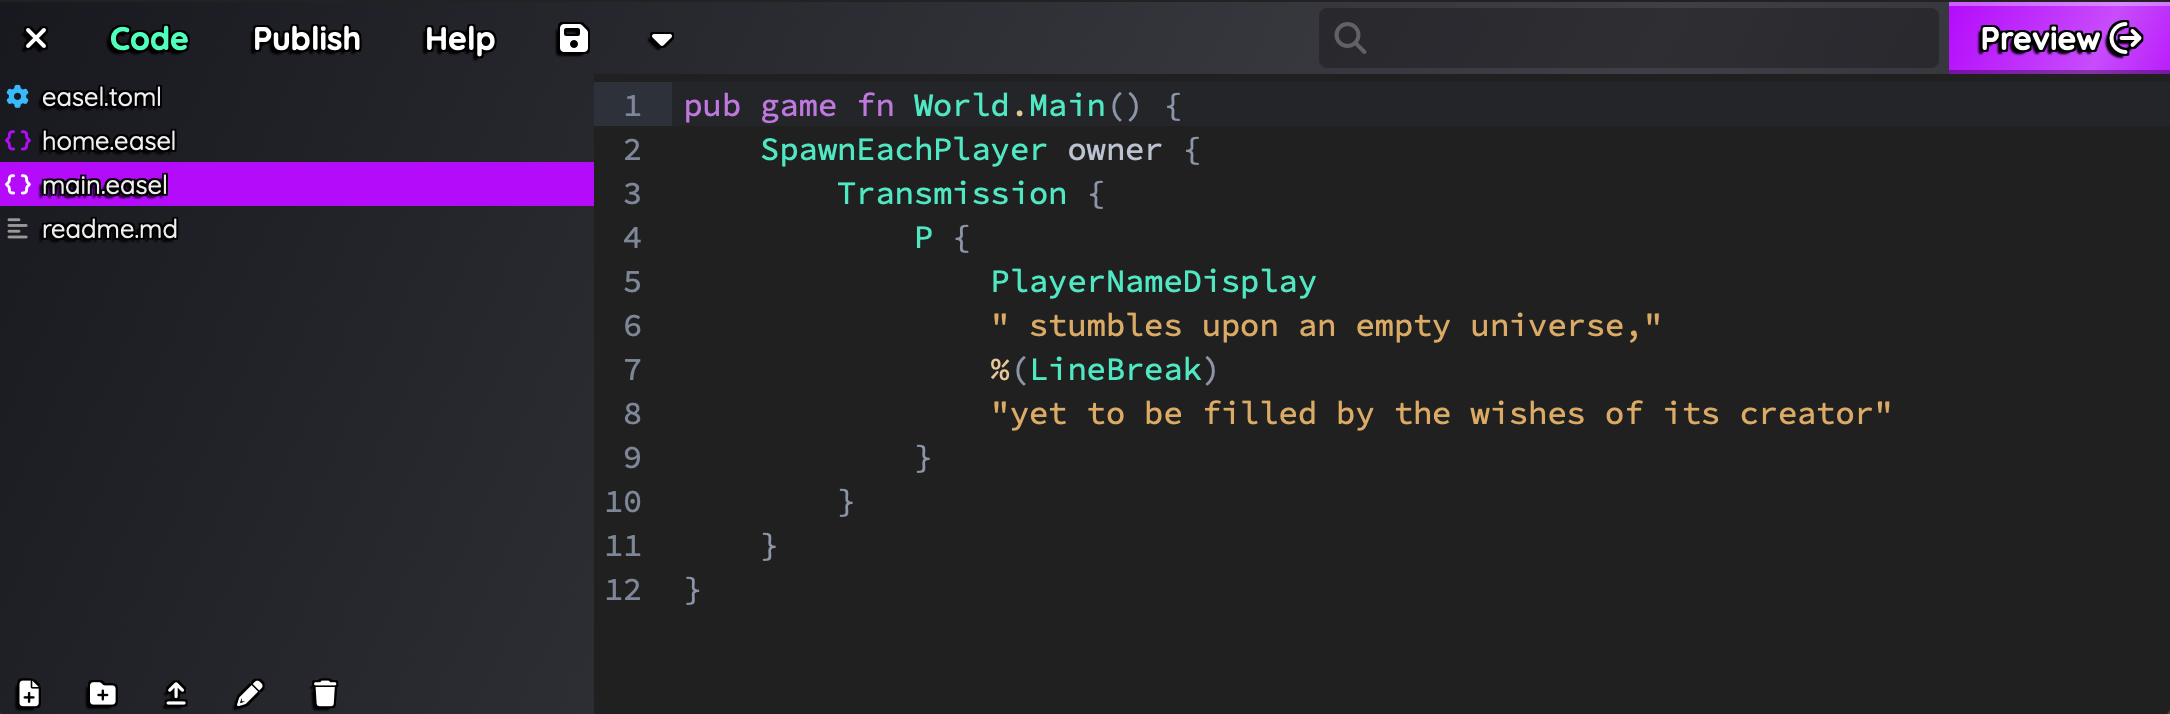
Click the Preview button in the top right to see your changes. You should see a page that says "Astroblast!", a text box asking for your name, and a Play button. Enter a username for yourself (don't use your real name) and click Play.
You will see a black screen, a small message greeting you into your empty universe. Click Exit Preview in the top left to return to the editor so we can start filling your game world with a spaceship and asteroids!
Recap
You have successfully created your project and give it a name. On the next page, you will learn how to import an image asset and make a backdrop for your new universe!